I deeply love cooking with fire, especially when it comes to grilling vegetables. Once you get a handle on the flame, the increased control allows for nearly limitless possibilities. Grilling gives you the versatility of cooking anywhere, such as in the park, camping, out of the back of your car, or at home (without heating your house)!
Below, you'll find my extensive guide on how to grill vegetables. Even after many years, I'm thinking of fun new things to try (like grilling beans—a technique I discuss in my upcoming book)!
This guide is far from an exhaustive list but is here to help you reference as you read through the rest of this guide. There are many different ways to grill each vegetable, and I highly recommend playing around!
Part of what makes grilling vegetables so unique is the ability to prep them in a myriad of ways. How you prepare the vegetables to grill can impact the final texture, flavor, and presentation.
The first decision you need to make is what your final vegetable presentation will be. Knowing what your final dish looks like will impact whether you leave your vegetable whole or cut it in any way.
Any vegetable will grill whole; however, you want to ask yourself whether you should. Larger vegetables will need some prep, more time, or less heat. If you toss a whole head of cauliflower on the grill without thought, chances are you will end up with a charred exterior and raw interior.
My rule of thumb is that if I'm grilling over direct heat, the vegetable will need to undergo some sort of preparation to ensure a tender exterior. For example, I parboil that head of cauliflower until just tender, then grill it. This technique works for whole carrots, turnips, beets, and Brussels sprouts. My only exception to this is any vegetable cooked directly in the coal, which I talk more about in the grilling section.
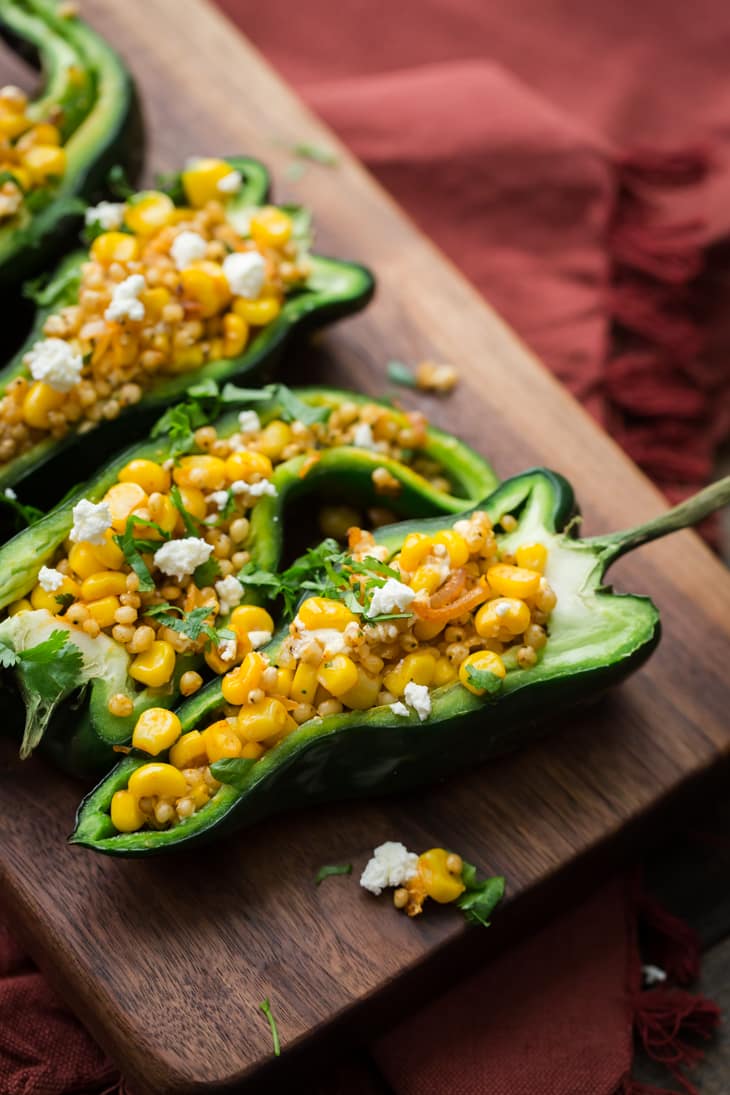
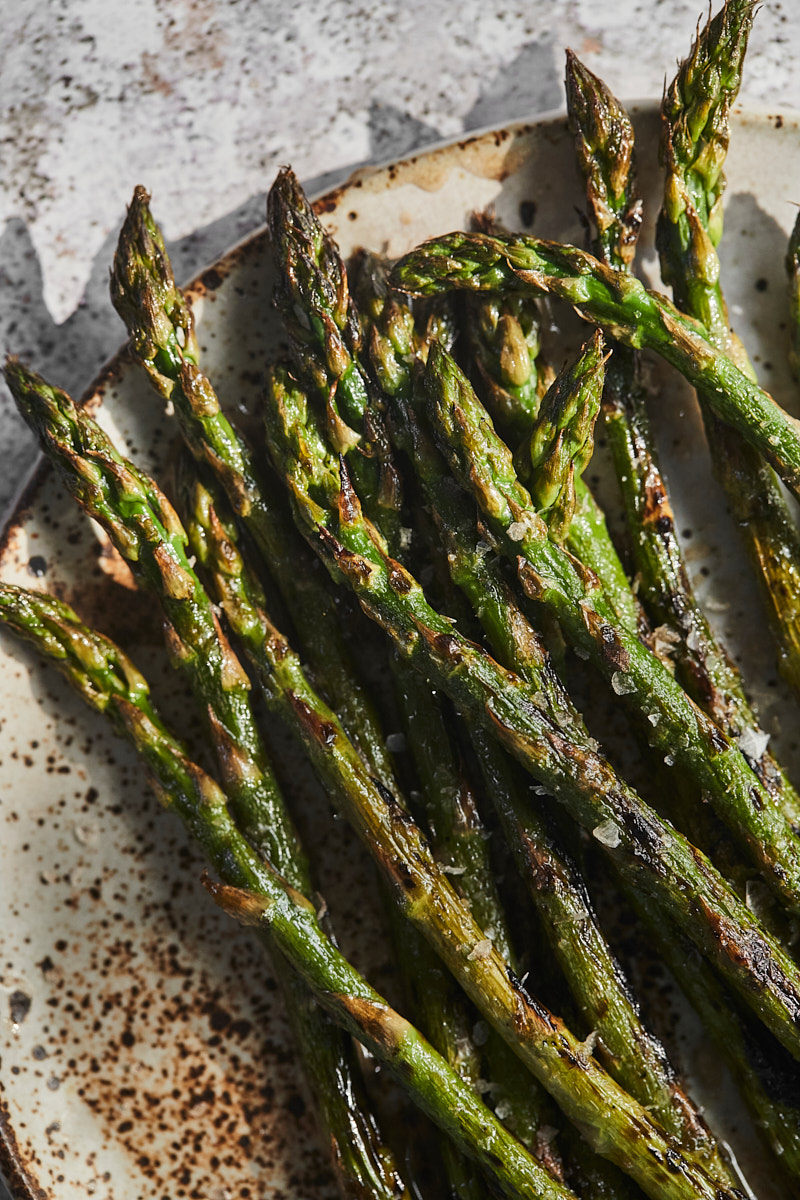
Sweet corn, beans, peas in their pods, asparagus, and peppers are all great grilled whole with little preparation.
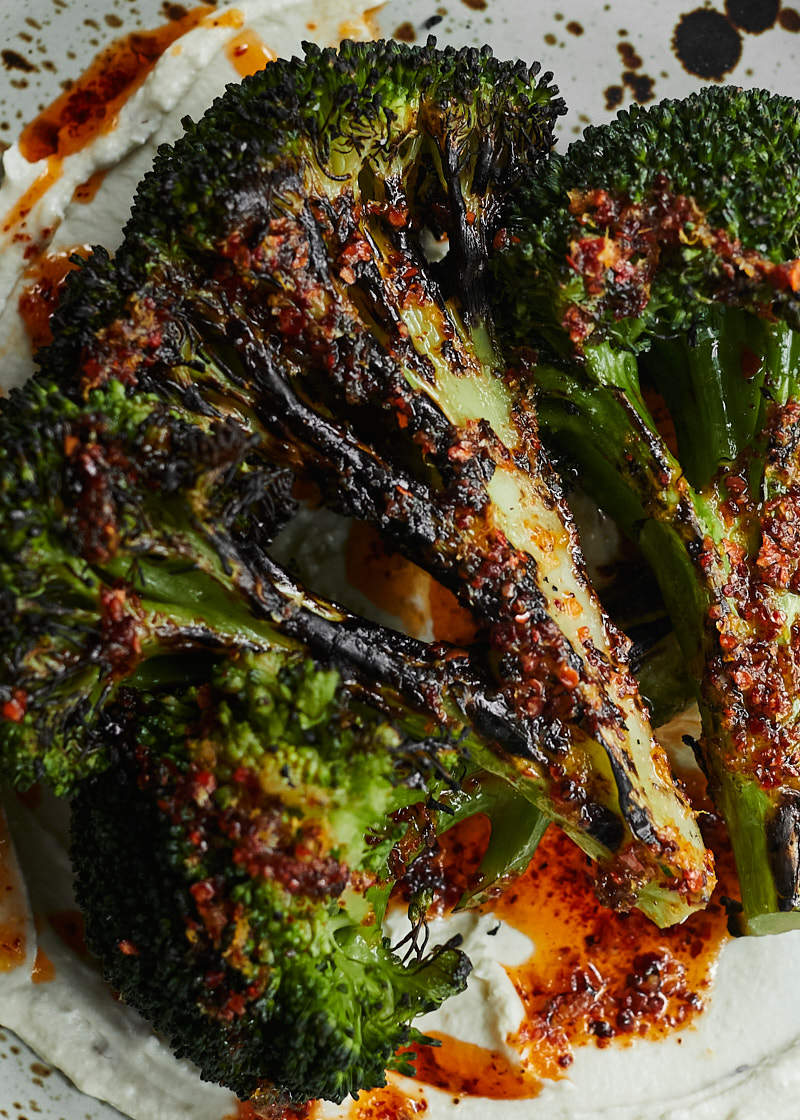
When presentation is the name of the game, I like to use halves or wedges of vegetables. Cutting vegetables like this is beautiful and practical–there are fewer chances of falling into the flames.
For halved vegetables, carrots are halved lengthwise with an inch of green tops still on, smaller zucchini is halved and marinated, or halved Brussels sprouts make for a perfect bite-sized piece.
As for wedges, think big wedges of broccoli, cabbage, sweet potato, potatoes, cabbage, or cauliflower. Or go smaller with wedges of beets, fennel, or winter squash (particularly the varieties with edible peels such as kabocha or red kuri).
Remember, the thicker the vegetable, the more likely you will want to precook it slightly ahead of time.
The main thing to consider is the final dish and what will be a good bite size. Are you grilling vegetables destined for a sandwich or standing in for a fork and knife meal? You would want slices.
Are you making a grain bowl, side dish, pasta, or something else that needs to be easily picked up in a single fork bite? Play around with the sizes of the cubes, but remember that you'll want a grill basket (and those do have holes in the bottom)!
I always ask myself this one question: will the skin annoy me when I'm trying to eat this item? This answer could vary for the same vegetable, such as carrots. Occasionally, I'll peel; more often, I won't.
The one exception to this: celeriac. The exterior of this root vegetable means business, and I'll always peel it.
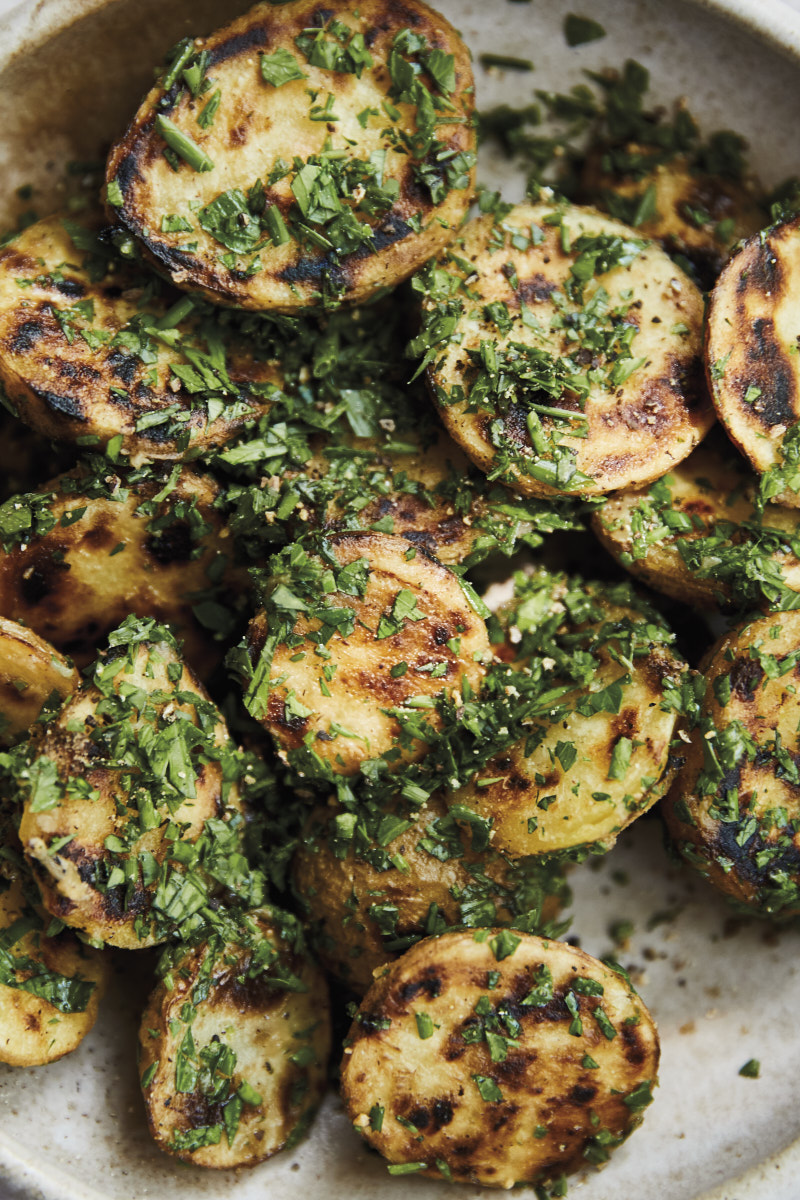
While typically associated with meat, tenderizing means softening something before cooking. Tenderizing can be done in many ways when working with vegetables! Pre-softening your vegetables is one key to achieving a perfect texture in every bite.
Vegetables high in water content, primarily zucchini and eggplant, benefit the most from salting ahead of time. This is done by liberally sprinkling salt on cut pieces of vegetables and draining any liquid that accumulates over roughly 30 minutes.
Removing some moisture makes you less likely to have a soggy, sad, grilled vegetable.
Now, hear me out. You could take it one step further. Brining and fermenting also involve using a solid amount of salt to remove moisture. But it takes the process a step further to infuse the vegetable evenly with flavor.
Brining is short-term; sometimes, an hour is enough to make a difference! The salt water penetrates the vegetable, drawing out the moisture and evenly distributing salt. If you're interested in brining, I highly recommend reading this article on Serious Eats. The author discusses the percentage of salt used, the length, and various results in great detail.
The process of fermenting is longer, and typically, you're not fermenting just to grill. However, if you have fermented items on hand, toss them on the grill! A few of my favorites are fermented cauliflower, garlic scapes (which made an excellent sauce), and fennel. If you need a primer for fermenting vegetables, I recommend starting here.
Finally, don't spend time marinating raw vegetables. Without the heavy hand of salt, the flavor won't penetrate the vegetable much. I add flavor while the vegetable cooks or directly after cooking. By waiting, the flavor will be more prevalent.
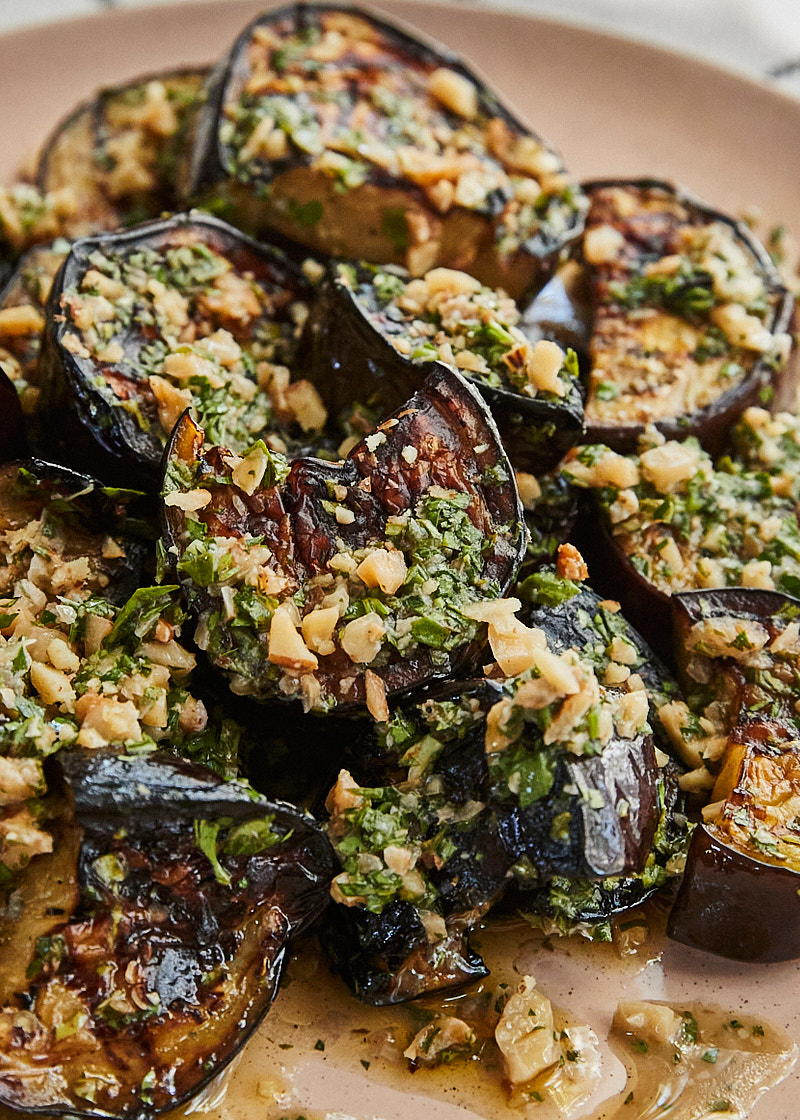
Some vegetables need a little extra softening before hitting the flame. If any vegetable is at risk of having a nice char on the outside while still keeping its raw crisp on the inside, I recommend precooking.
Parboil a whole head of grilled cauliflower or broccoli until just tender to make a show-stopping dish. Steam beets, carrots, or other root vegetables until they just start to soften. Blanch thick green beans to ensure a tender post-cooking bite.
My rule is to precook vegetables until I can pierce them with little resistance. Too much, and you risk overcooking the vegetable. It's trial and error, but the more you work on grilling vegetables, the better your understanding of this step.
As with most things, you can always keep cooking if they are undercooked. However, you cannot bring them back from being overcooked!
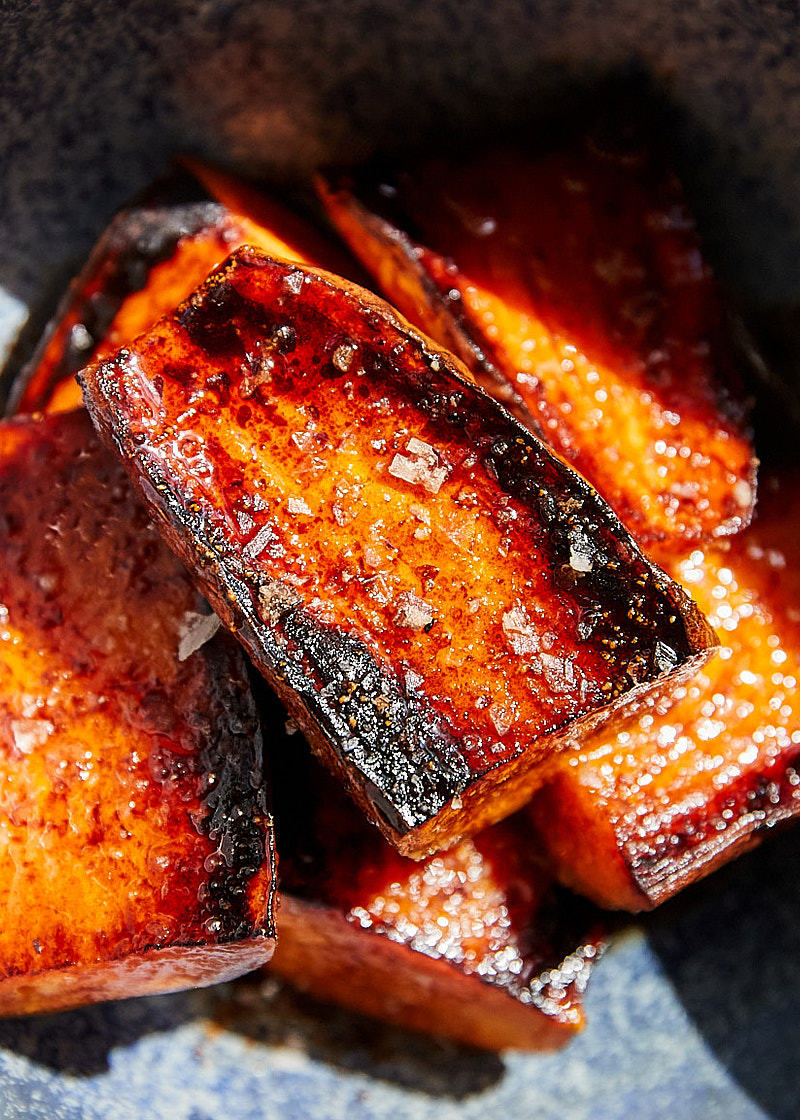
Once your grill is hot and you're ready to go, it's the final step before hitting the flames. Oil is always a good idea to aid in moisture and avoid losing that beautiful outer char stuck to the grill. Be liberal with your oil usage-it's okay. Use olive oil, avocado oil, or other high-heat neutral oils. Save the low-heat flavor oils for a finishing drizzle or sauce.
Beyond using oil, brushing sauces on as you grill is a great way to add moisture and flavor. Think BBQ sauces, spice-based sauces, or chile sauces—any sauce that can stand up to a bit of heat. I start with a base layer before grilling and keep the sauce on hand to brush on occasionally. And the nice thing about vegetables, as compared to meat, is there's no raw/cooked contamination!
For delicate sauces, especially ones with fresh herbs or sauces heavy on acid, I recommend using them towards the end or after cooking. Burnt herbs are never fun; cooking some vegetables in overly acidic mixes can keep them tough.
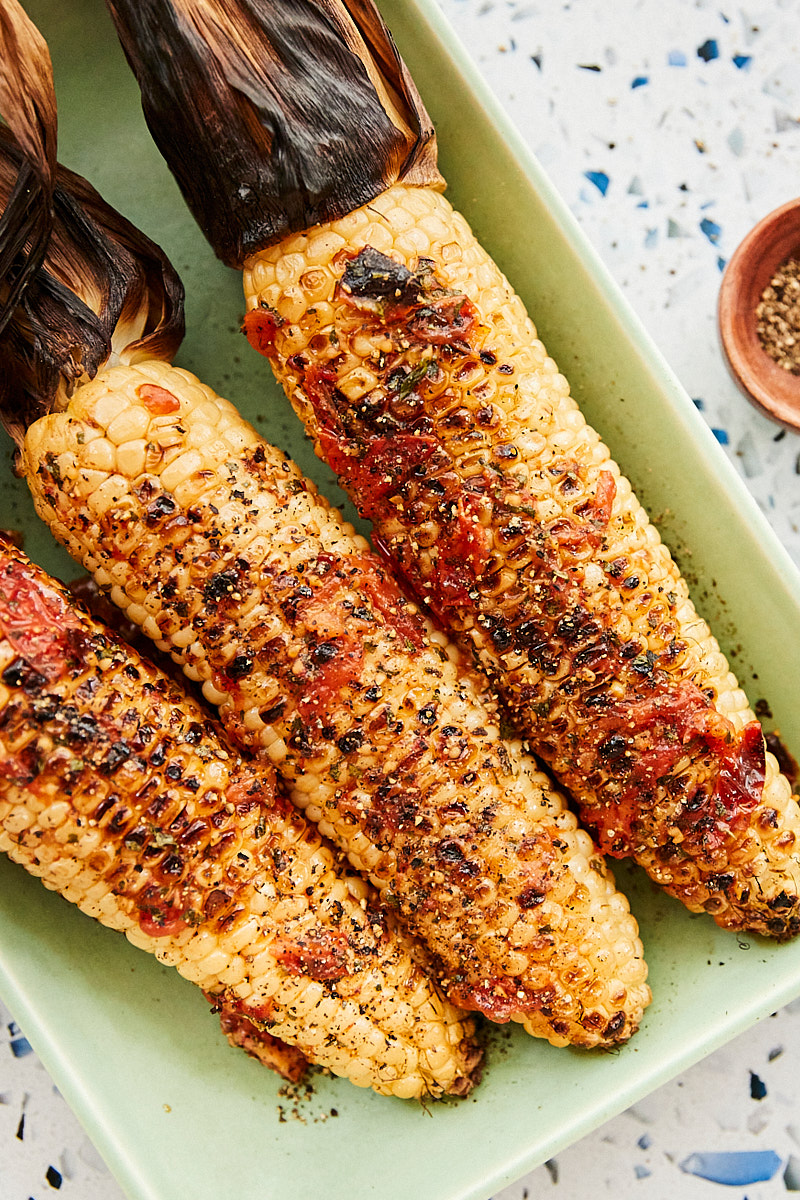
Finally, we're ready to grill! As I mentioned above, you can choose how you grill your vegetables. However, size is often the determining factor.
This is the easiest way to grill; nothing extra is needed. However, this only works well if you have whole or large pieces of vegetables that don't risk falling through the grates. Perfect examples are ears of sweet corn, thick slices of zucchini, or whole peppers.
I have singed my hand an embarrassing number of times attempting to save slices of onions or a stalk of asparagus from falling through the grate. It's just not worth it when there are tools to help us! Look for grill baskets or toppers. You can get away without using a basket or topper, but I find them very handy for cooking most of the vegetables.
Baskets are smaller and come in circular and rectangular shapes, often with high walls. I like to use baskets for items that I might want to give a good shake while cooking, or that are really at risk of falling through, such as halved radishes, ½" or smaller cubed vegetables, or small whole items like cherry tomatoes.
Grill toppers are flat, griddle-like items with no side walls. Similar to grill baskets, the bottom has holes, allowing fire to reach the vegetables. I prefer toppers for items too large for a basket but not wide enough to cook directly on the grill. This includes wedges of vegetables and skinny items such as asparagus, garlic scapes, green beans, or peas.
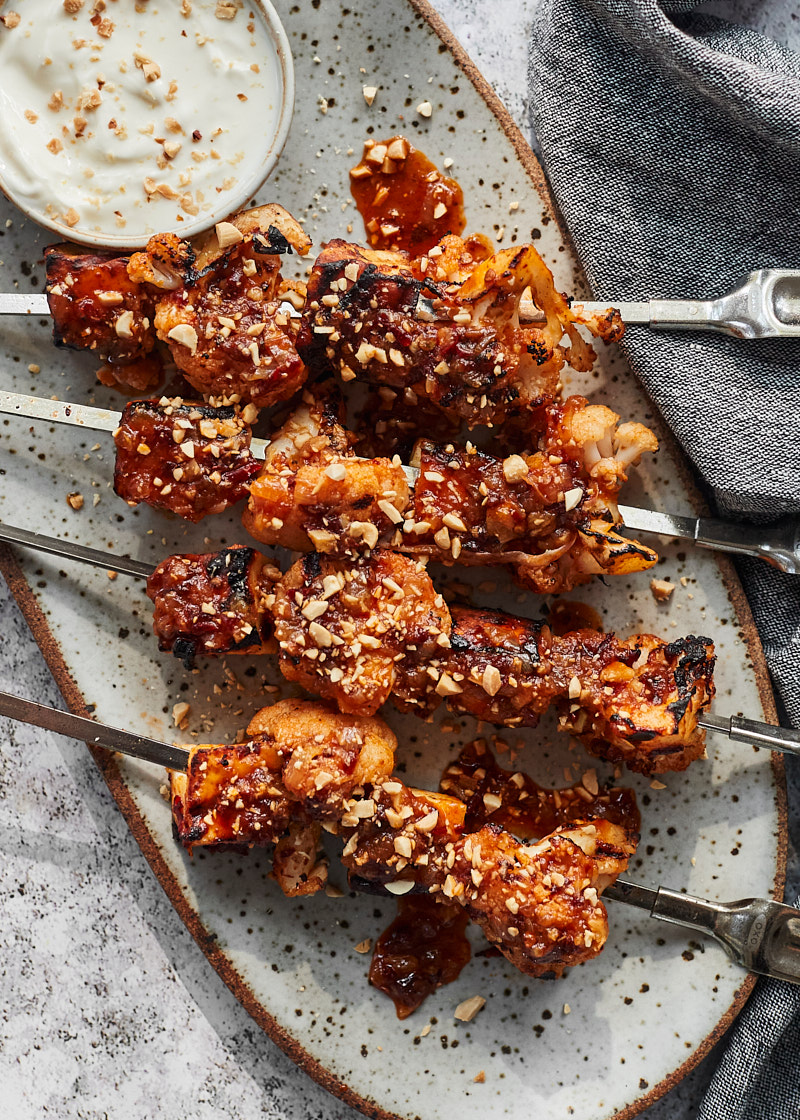
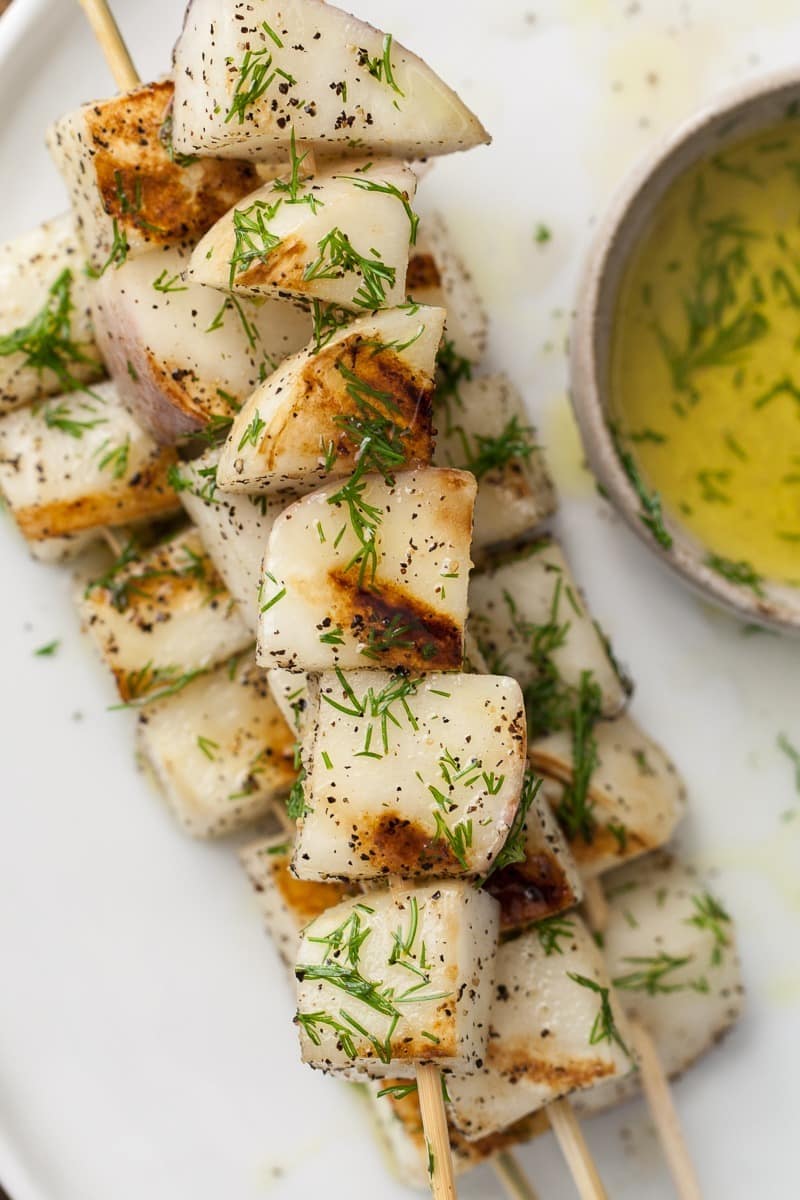
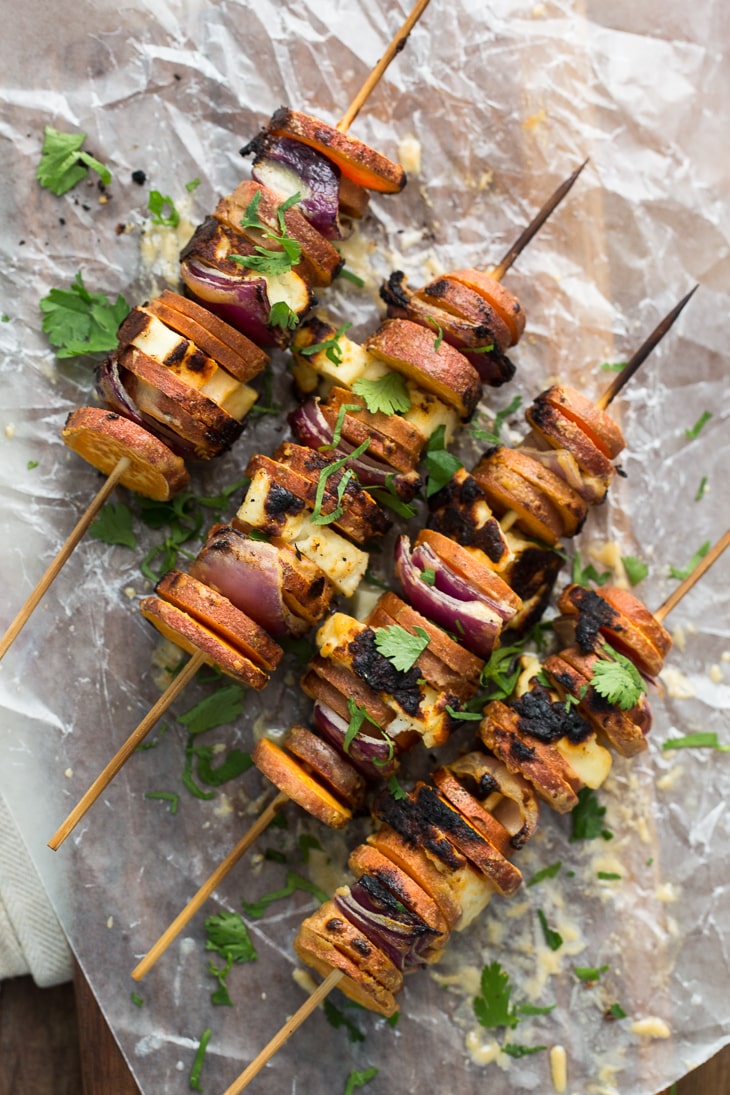
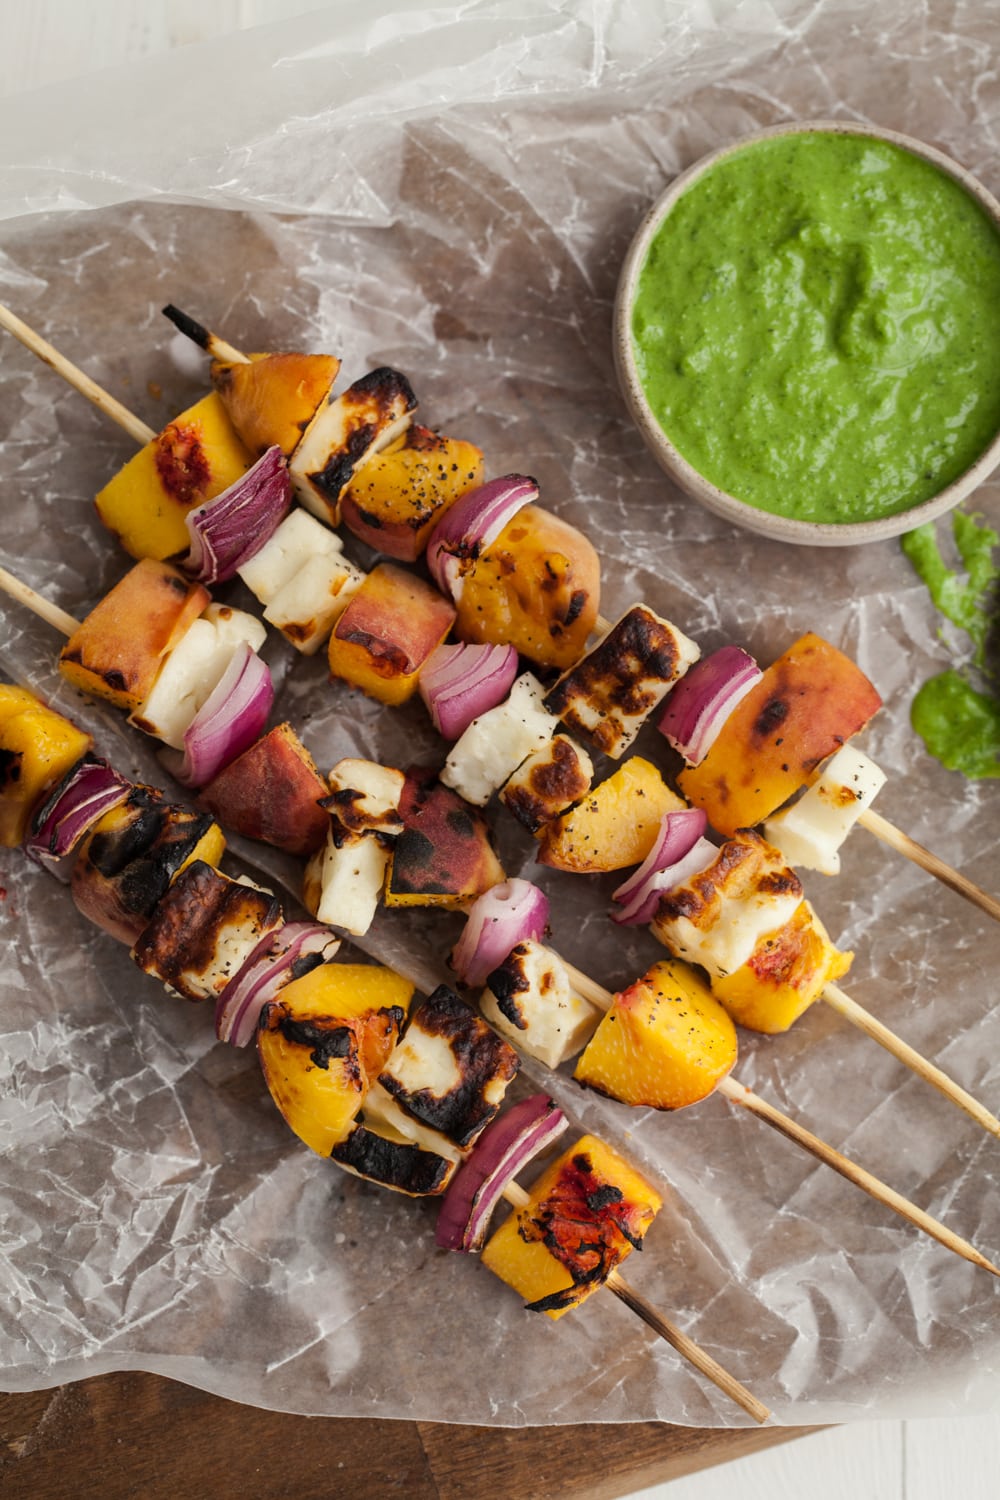
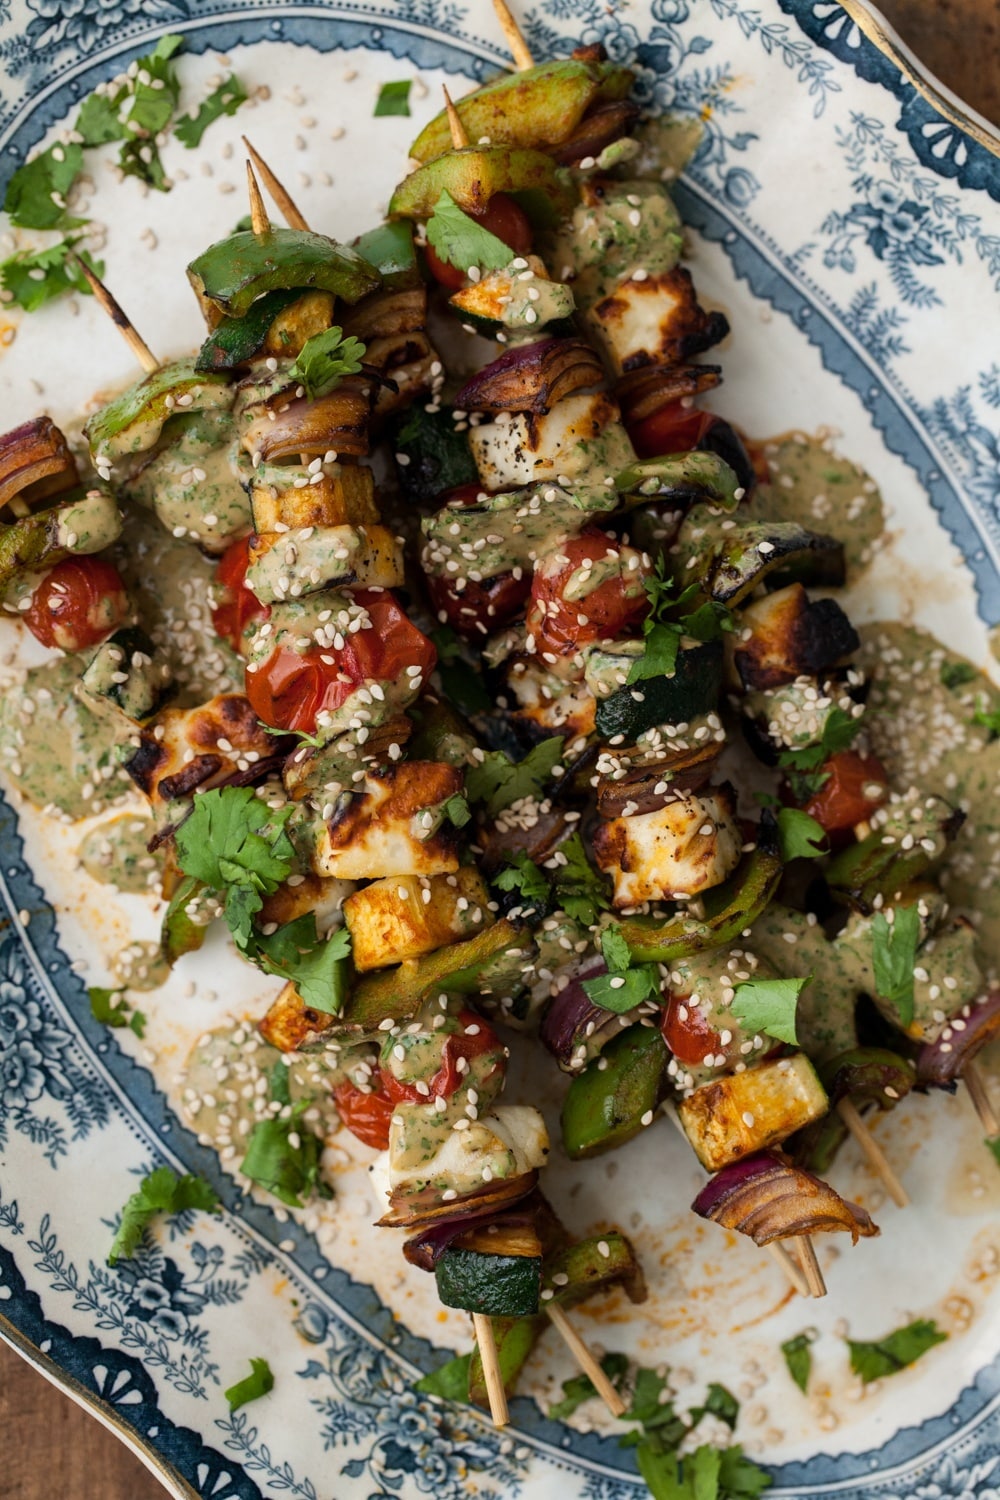
Using skewers requires more prep but makes for easy grilling and a fun presentation. I like to use skewers to make an easy meal with protein. I also use them with vegetables, tofu, frying cheeses, and even polenta cubes.
If you like skewers, I recommend picking up a set of metal skewers. Wood skewers should be soaked ahead of time, and even then, they will most likely burn up in the fire.
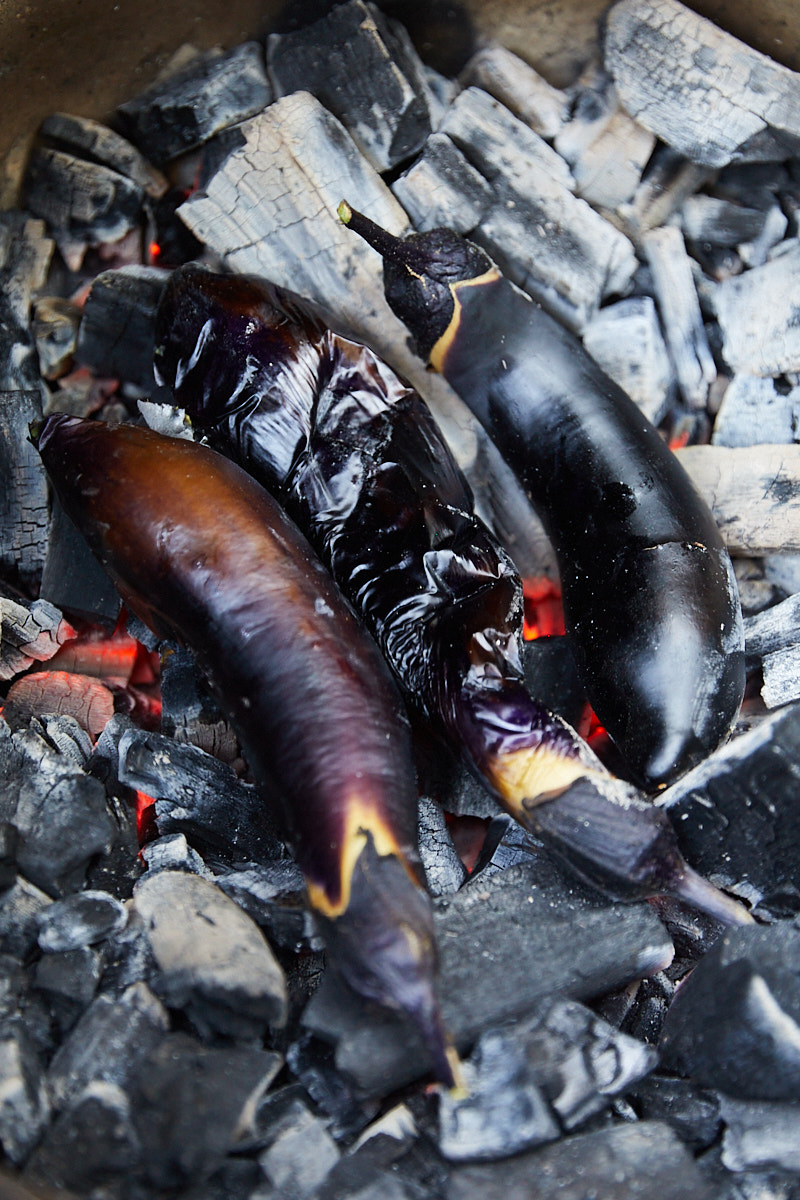
My preferred method for whole vegetables is cooking at a slightly lower temperature for an extended period. I use this method if I've already been grilling and want to prep something for another meal. You're looking for coals that all have even ember coverage with no active flame. Ideally, the grill will be between 200˚F to 300˚F.
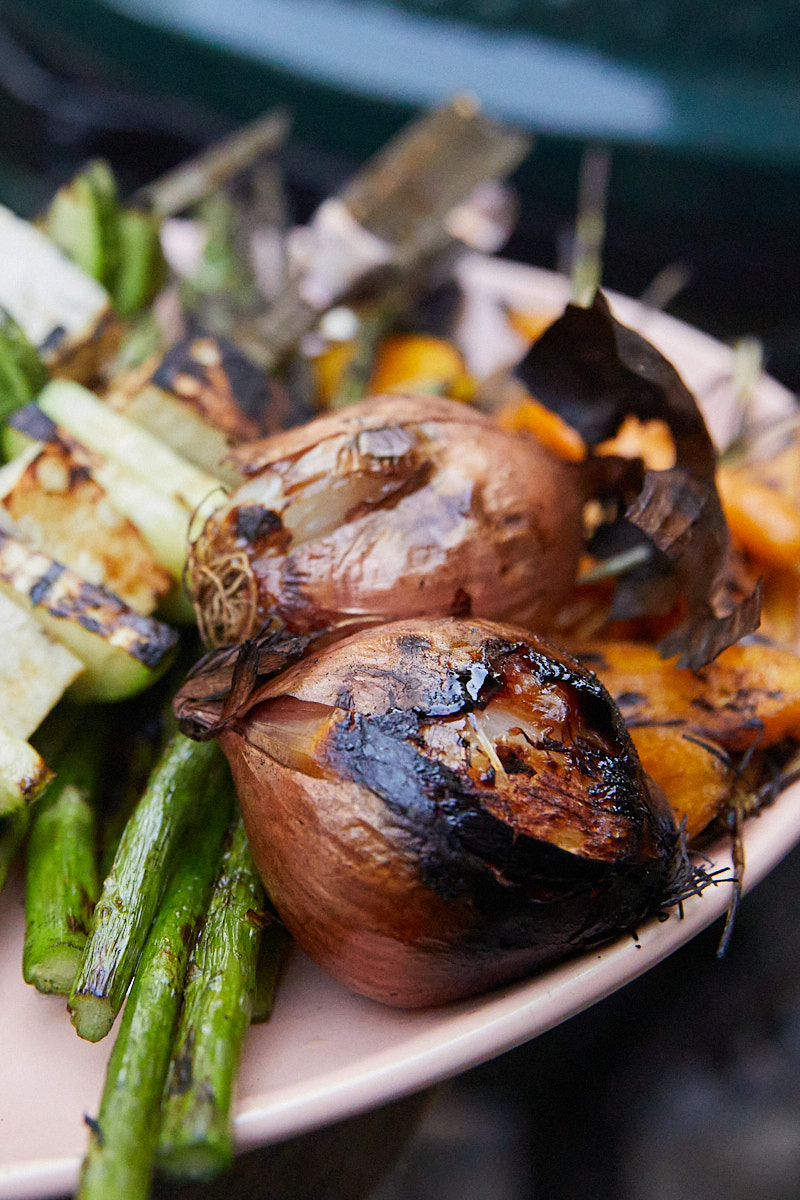
Any vegetable cooked this way has a charred outside, creamy inside, and smoky flavor. I use this method for making baba ganoush with eggplant, smoky squash puree from winter squash and sweet potatoes, whole shallots or onions, or even smoky carrots/beets (rub the charred skin off before using)!
Foil pouches are a popular method for ensuring moisture and even cooking. However, I try hard to avoid single-use products and instead rely on tenderizing vegetables or residual heat.
After you've prepped your vegetables and figured out the best way to grill them, it's time to apply some heat!
Using direct heat means right over the flames. This is how you get that beautiful outside char–it's what we picture when we think of grilled foods. Direct heat is hot and therefore, works fast.
I pair direct heat with other types of heat and prep to give the vegetable a good color and flavor while ensuring a tender inside. The only vegetables I cook over direct heat are sweet corn, tomatoes, and peppers--anything I'd eat raw that only needs a little time to lose its rawness.
It's helpful to have part of the grill for direct heat and another part for indirect heat. I think of indirect heat as something similar to roasting in the oven after searing on the stovetop. Indirect heat penetrates the vegetable and is used to soften it.
I use indirect heat when I'm trying to cook a few different vegetables at once to ensure tender vegetables (especially if I didn't precook or didn't precook enough) or to keep things warm.
When you pull vegetables off the grill, they are still hot; we can use that to our advantage. To do this, remove the vegetable from the grill, place it in a bowl, and cover for a few minutes. The residual heat and steam continue to cook the vegetable.
My favorite example is green beans. If left on the grill for too long, even with indirect heat, they will become limp. By cooking over direct heat and then transferring to a bowl, they will continue to cook.
Finally, you've grilled your vegetables, and you're good to go (almost)! However, there's one last step to ensure the best possible outcome.
Right off the grill, while your vegetables are still hot, it's time to toss, brush, or coat them. Pick a sauce, compound butter, flavored oil, or marinade—there's really no wrong way to go. The vegetable is ready to soak up all those good flavors.
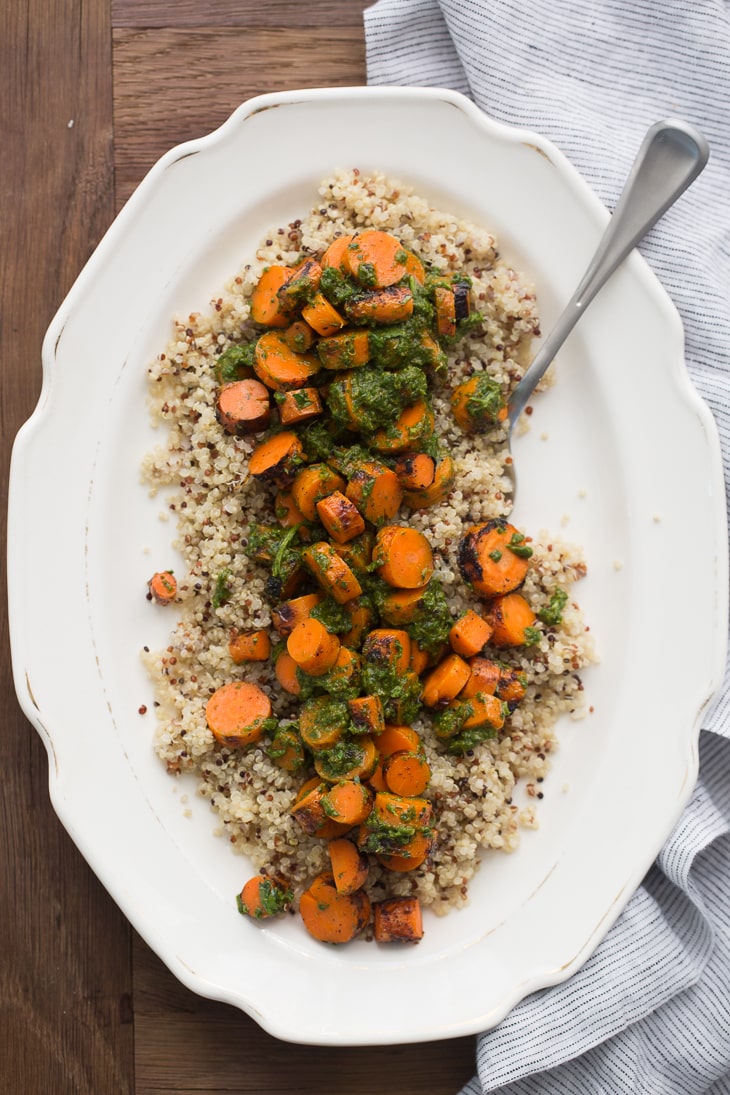
A few of my favorite saucy items include chimichurri, miso butter, chile oil, or soy-sesame marinade.
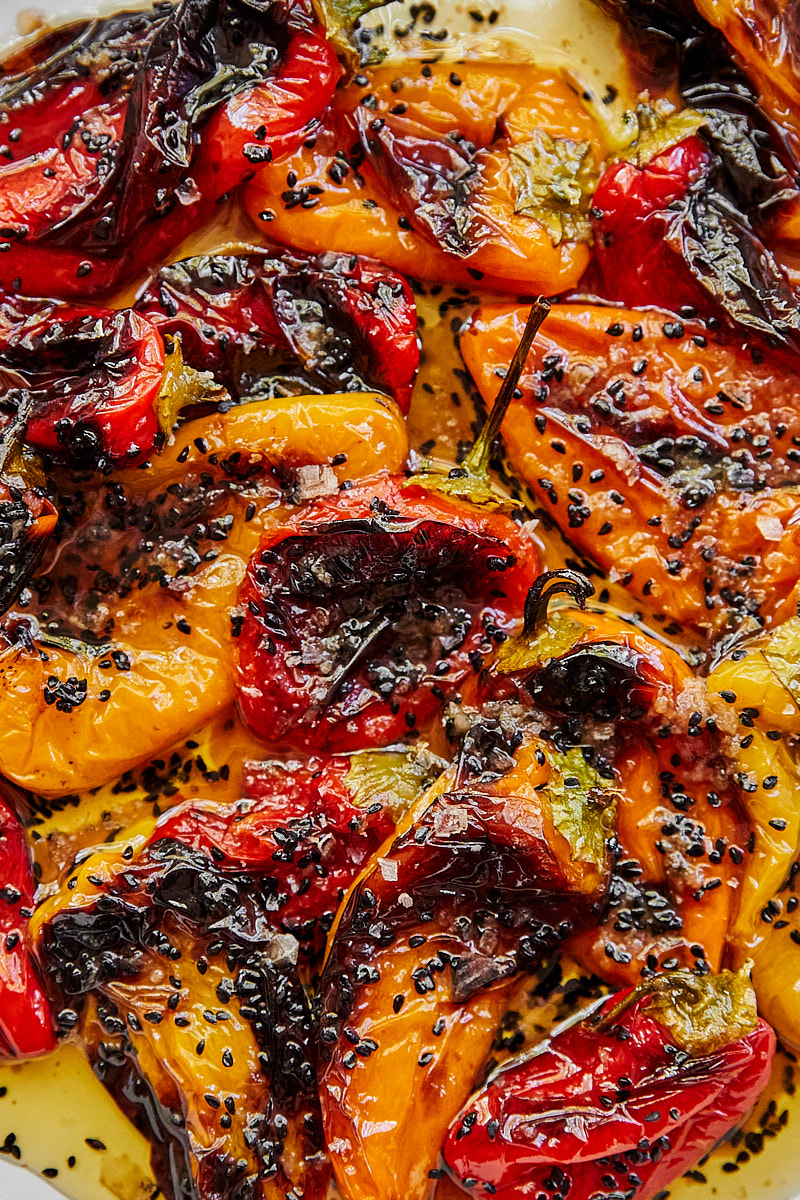
Once your vegetables have had a chance to take a good soak, finish with any additional touches such as fresh herbs, toasted and crushed nuts, or grains. Just be sure to sample and adjust to your tastes, whether with more salt, a bit more punch from vinegar, or a drizzle of oil to round out the fats.

