Hello! You've landed on an older recipe. Sometimes the older recipes aren't written as clearly as they should be or something might need to be clarified. If something seems confusing or a question arises, send me an email and I'll help!

A note about culture/this recipe: I'm sharing this recipe for the filling. I did not grow up with potstickers but have a deep appreciation for the cultural history/process of making them. If you're interested in learning more about Chinese cuisine, I highly recommend following Lisa Lin.
When I slow down, I find I cook more and often turn to make everything from scratch. This rewarding experience is always a humbling one. Primarily because it reminds me that food wasn’t always fast. There’s a deep appreciation for food that we lose when we pull ourselves out of the process.
Potstickers
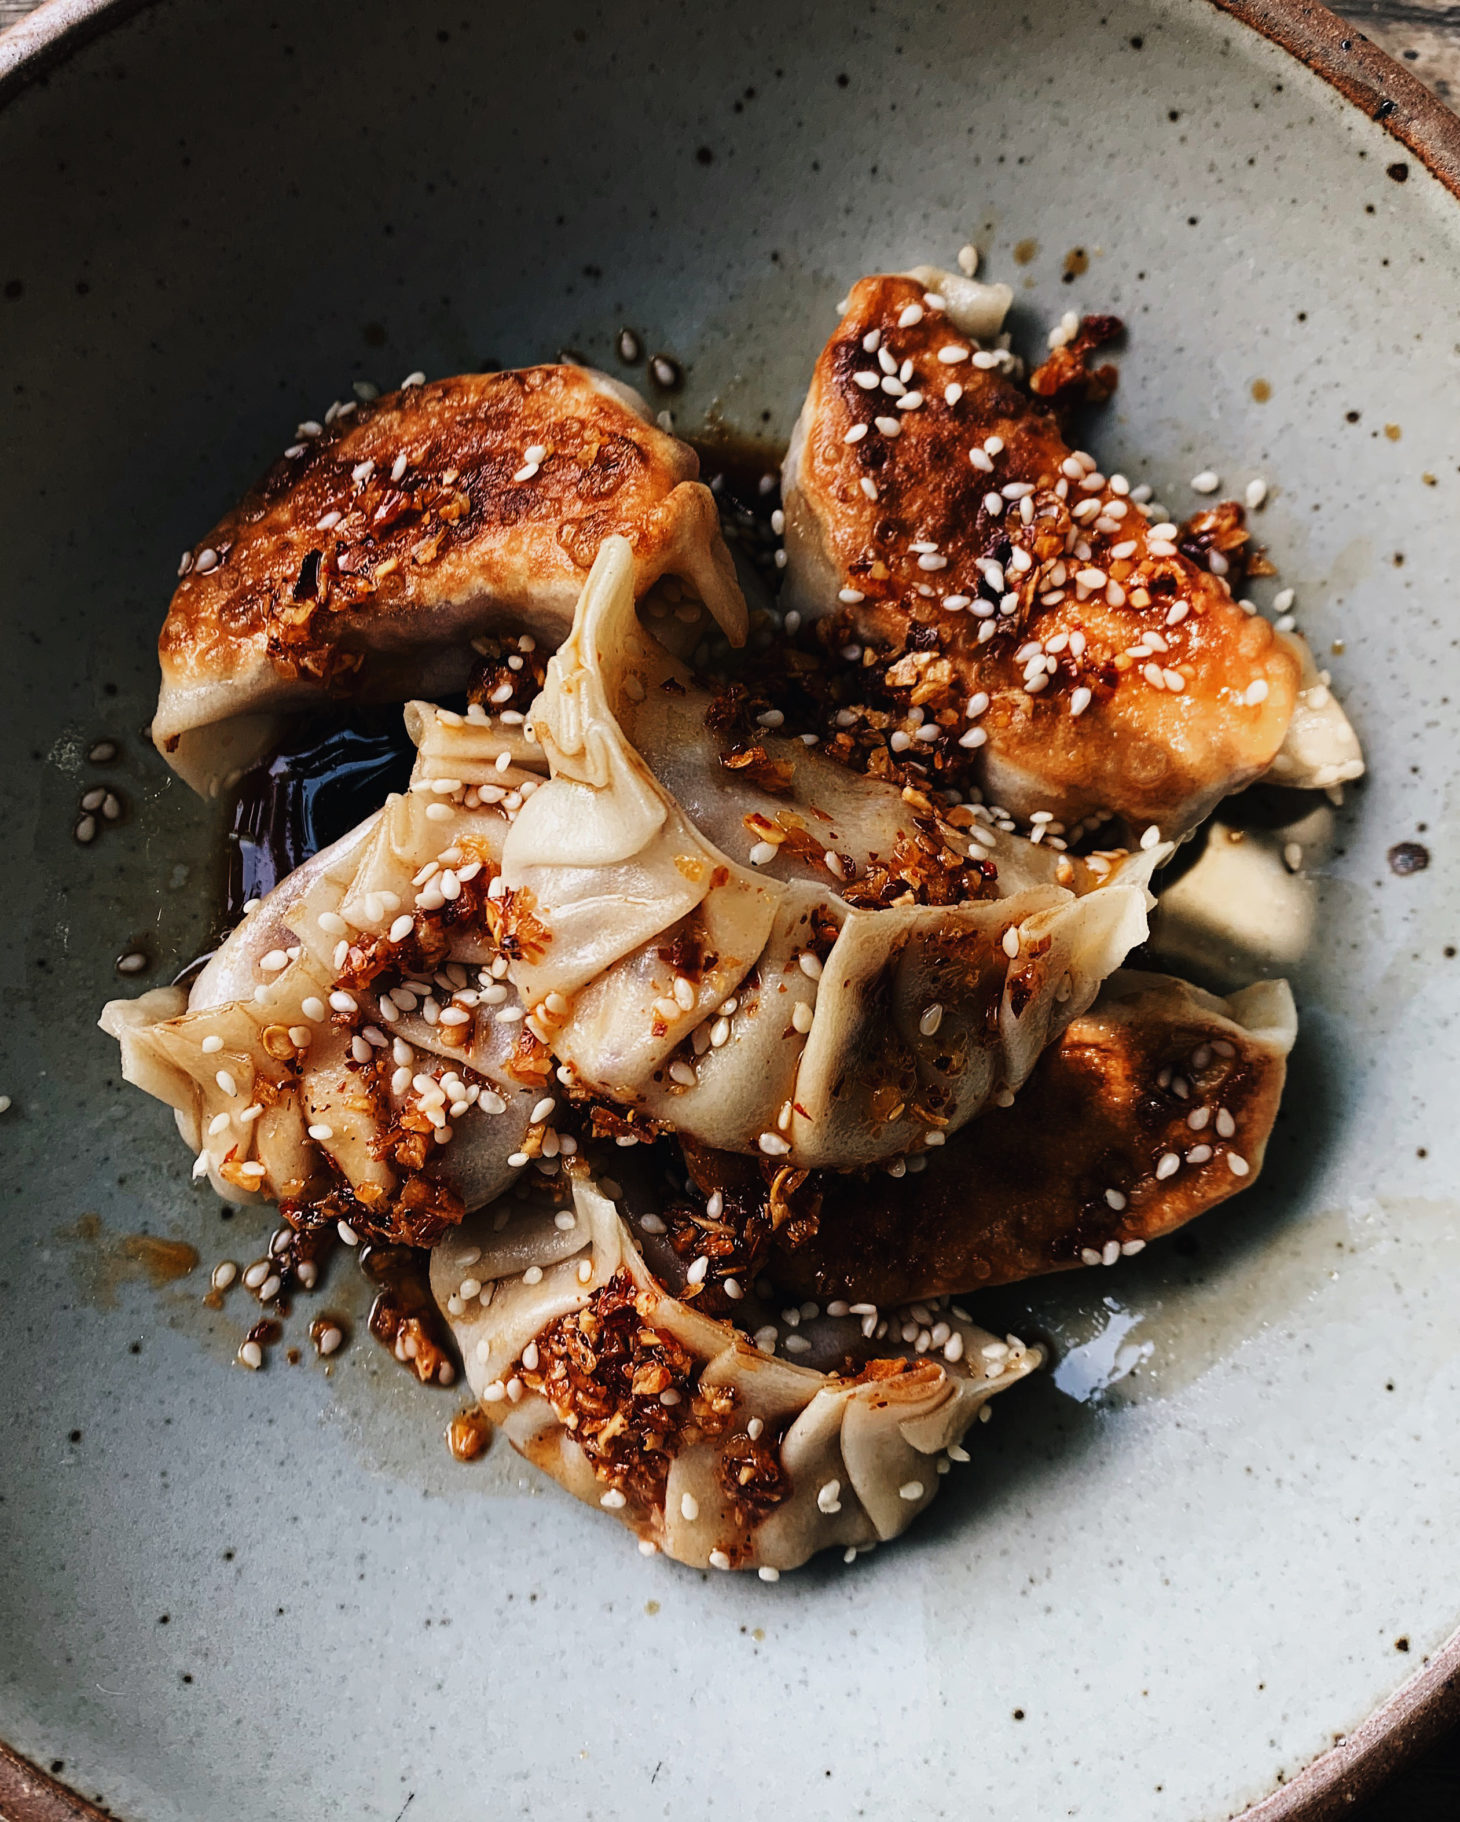
It’s no secret that I’ve yet to meet a kind dumpling I didn’t like, but I love a good potsticker. The crispy bottom, the versatile filling, and a solid sauce; what’s not to love? I’ve been making them at home for years but with storebought wrappers. And so, I finally made the jump to making my wrappers, and as with most things, the homemade wrappers make these wonderful.
The wrappers
I am lucky that I’ve had the chance to watch/learn from my friend Lisa (Healthy Nibbles). I’m primarily sharing this recipe for the filling. Lisa’s dumpling dough is perfect (and it’s rare for me to say that about a recipe). She also has excellent, detailed videos about making the dough and pleating.
A couple of my notes: be patient with yourself. You may find rolling thin enough to be a battle. Or, you might sail past that to find your fingers aren’t quite sure what to do when it comes to pleating. Practice is your friend, and luckily, even the ugly ones will taste delicious.
The filling
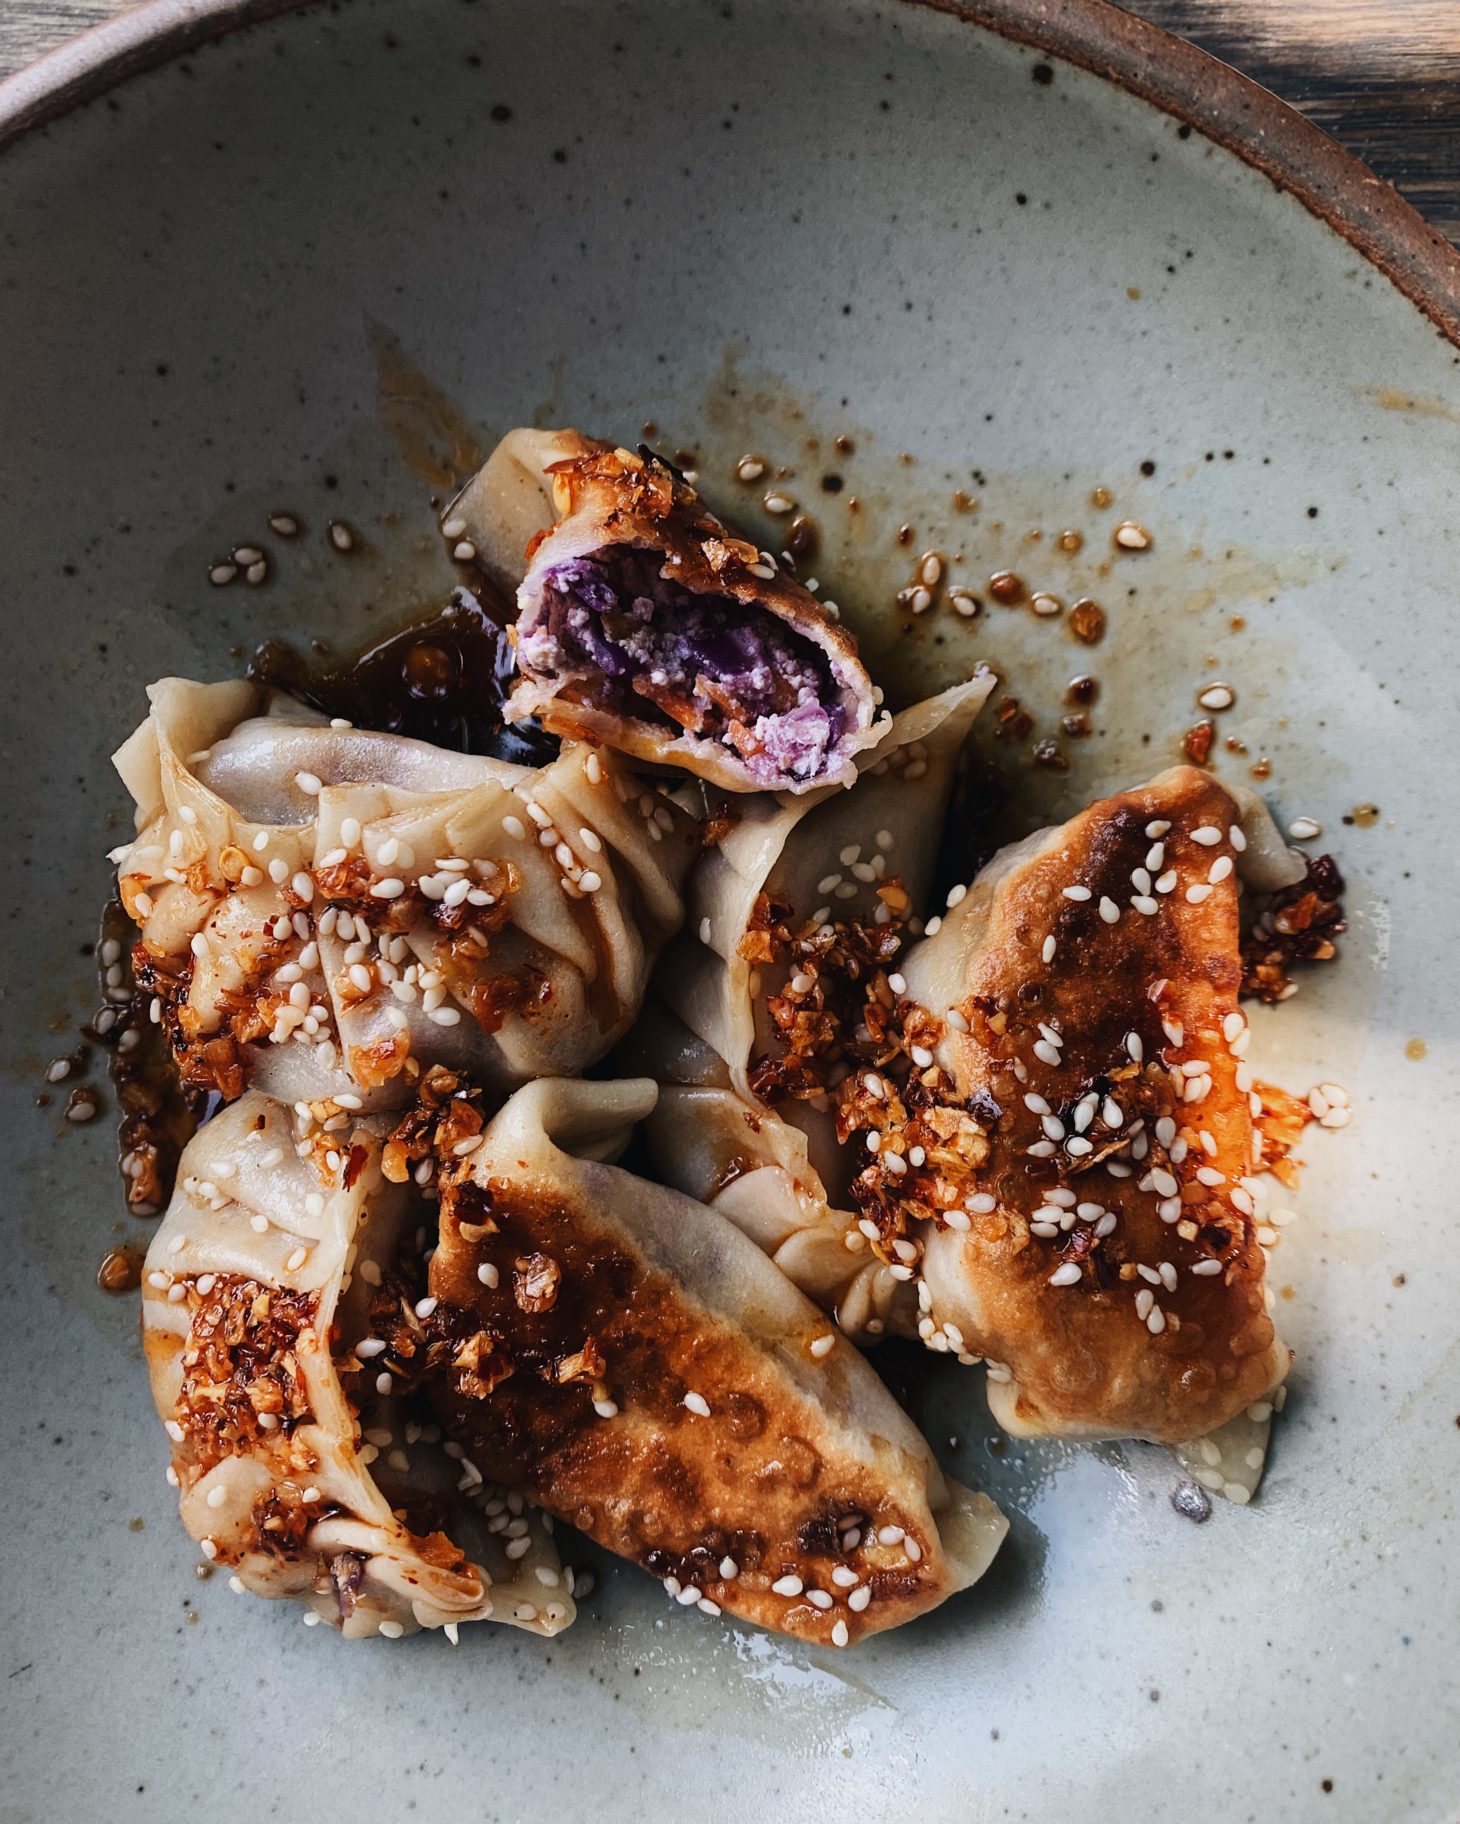
This filling primarily came about as I worked my way through a large head of red cabbage. I love a good head of red cabbage, as I can usually get a few meals or sides out of one head. This filling is straight forward, but the key is to bring it all together in a food processor. It makes filling and pleating the dumplings a lot easier. I didn’t find that I liked the mixture any better by cooking it ahead of time. I enjoy the cabbage with just a bit of texture inside the filling.
Freezing
Each time I’ve made this recipe, I usually make a half batch of Lisa’s dough, resulting in about 20 potstickers. If you find yourself with more time and more cabbage, double the filling amounts, use the full dumpling dough recipe and freeze the uncooked dumplings. Freeze on a tray, transfer to a storage container once frozen, and pull out as desired. Keeping potstickers in the freezer is a great way to always have a meal on hand!

- 2 cups shredded red cabbage
- 1 medium carrot (grated)
- 3 garlic cloves (minced)
- 2 teaspoons minced ginger
- 4 ounces firm tofu (pressed for about 30 minutes)
- 1 tablespoon soy sauce
- 18-22 potsticker wrappers (see note)
- 2-3 tablespoons neutral oil
Combine the cabbage, carrots, garlic, and ginger in a food processor. Pulse until the mixture starts to come together, and the cabbage is in smaller pieces. Crumble in the tofu and add the soy sauce, pulsing a few times to bring everything together. The mixture should look cohesive with no large pieces of cabbage poking out.
Set up an assembling station with a small bowl of water, filling, and wrappers. Working with one wrapper at a time, place about 1 tablespoon of filling in the middle. Dip your finger in the water and run it along the entire edge of the wrapper. Fold both ends up (or corners if you are using square wrappers) and lightly pinch. Working with one side, pleat and pinch together, making sure that once pleated, the potsticker is sealed. Repeat with remaining filling and wrappers.
Heat a skillet over medium-high heat. Add enough oil to coat the bottom of the pan and add potstickers, so they are not touching, and the flat side is down in the pan. I usually have to work in batches. Cook until the bottoms golden.
Using the lid to shield yourself from the splatter, add ⅓ cup of water to the pan. Cover immediately, reduce the heat to medium-low and cook for about 6 minutes. Once done, lift the lid. If the potstickers seem stuck, turn the heat back up and cook off the water if there is any left. (This is how I cook potstickers with a stainless steel pan.) Remove from the pan and repeat the process with however many more potstickers you would like to cook.
Serve with soy sauce, chili crisp, or your favorite sauce.
As I mentioned in the post, I make a half-recipe of this dough and usually weight each dough piece to be around 10 to 11 grams. With this, I can generally get around 20 potstickers with the amount of filling listed above. Things will vary depending on how thin you roll the wrappers and how much filling you use.
If you are using homemade wrappers, make the filling during the final 30 minute rest time so that you’re ready to go when the dough is ready.
Stainless steel pots aren’t usually recommended for cooking potstickers, but I’ve had success by turning the heat back up at the end of the steam, with the lid off, to let the water burn off and the oil cook the bottoms of the potstickers a bit more. Prep Time: 1 hour hour 30 minutes minutes
Cook Time :20 minutes minutes


This was great. I cut 10-12 gram dough pieces. Maybe that was a typo with the ounces.
What is the best way to reheat?
I don't usually reheat but when I do, I steam them in a pan with a little water.
It Looks Great.
I didn't like the filling.
Can you prepare them and keep them in the fridge without cooking?