This year marks 10 years since I published my first book about milling flour! So much has changed since then in my understanding and cooking, but one thing has remained: my love of milling flour at home.
I mill flour at home for every use I can think of, such as for bread, pasta, pastries, pancakes, dessert crepes, and cream of wheat—the list goes on and on!
What follows are a few things I think about when milling flour at home. While I mention other grains, I share most of this with wheat in mind, as that is the primary focus of my home milling.
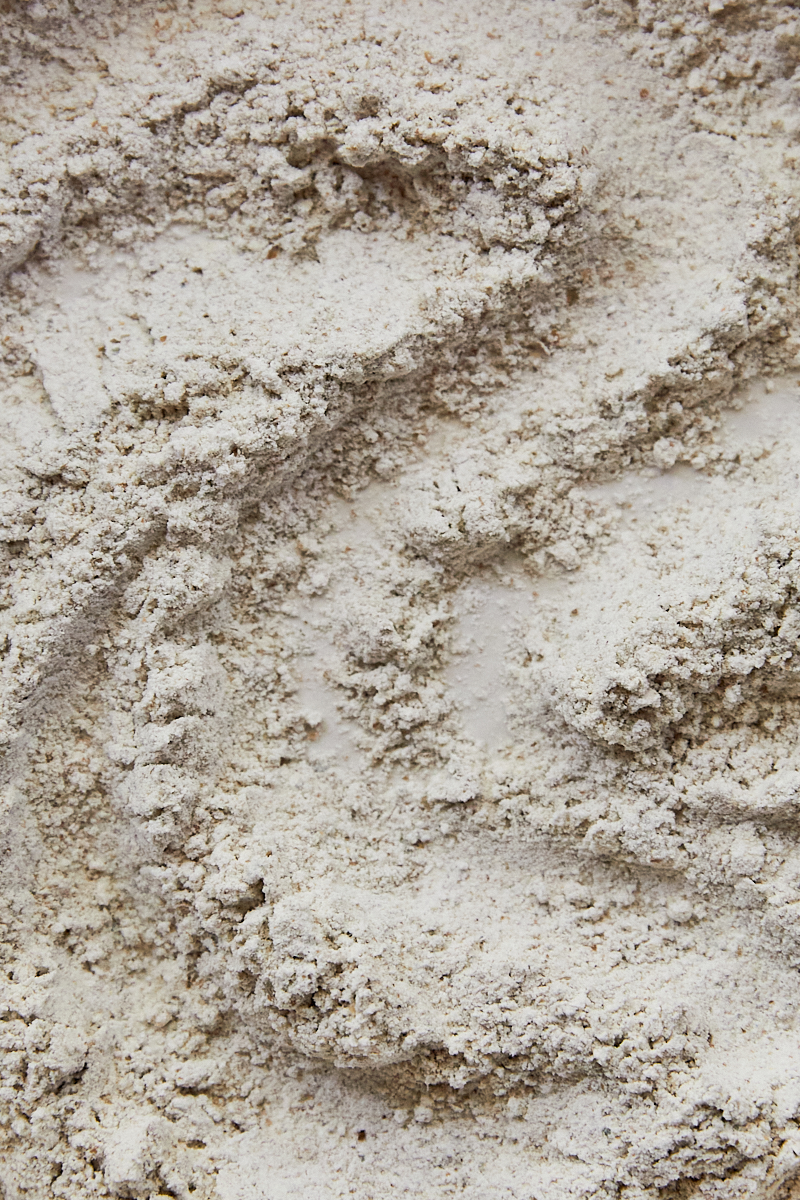
Whether you purchase from a store or mill at home, flour is, at its core, a grain pulverized enough to create a powder. Of course, as with most of our food, there are varying levels to how the grain is processed to achieve the flour.
For example, let’s consider the very popular all-purpose flour. Industrially milled flour goes through a few steps to get to the bag you pick up at the store. The grain, post milling, is sifted to remove the sharp-edged bran and germ of the grain. Sifting leaves only the starchy endosperm.
Post-sifting, the flour moves on to the aging or bleaching process. Either process continues to strengthen the availability of the gluten network combined with water. Aging can be done by oxidizing the flour over time, while bleaching is a much faster chemical process.
Milling flour at home can be a rewarding experience because it allows you to take raw material and turn it into something usable in many different ways. However, flour has a few more benefits that I think are significant and worth mentioning!
For starters, flour you buy in the store, especially bleached all-purpose flour, is a long way from the original grain. Degradation begins immediately post-milling; the longer the flour sits, the fewer nutrients are available. By milling at home, you’re able to use flour immediately and get a higher level of nutrients from the grains.
Chances are, if you’ve primarily used all-purpose flour, using flour was not about the flavor of the flour. When you mill at home, you have more options for types of grains that can provide a wide variety of flavors.
I like to mill many types of grains for use as flavor flour, and I’m clearly not alone. Alice Medrich has a whole book devoted to this idea.
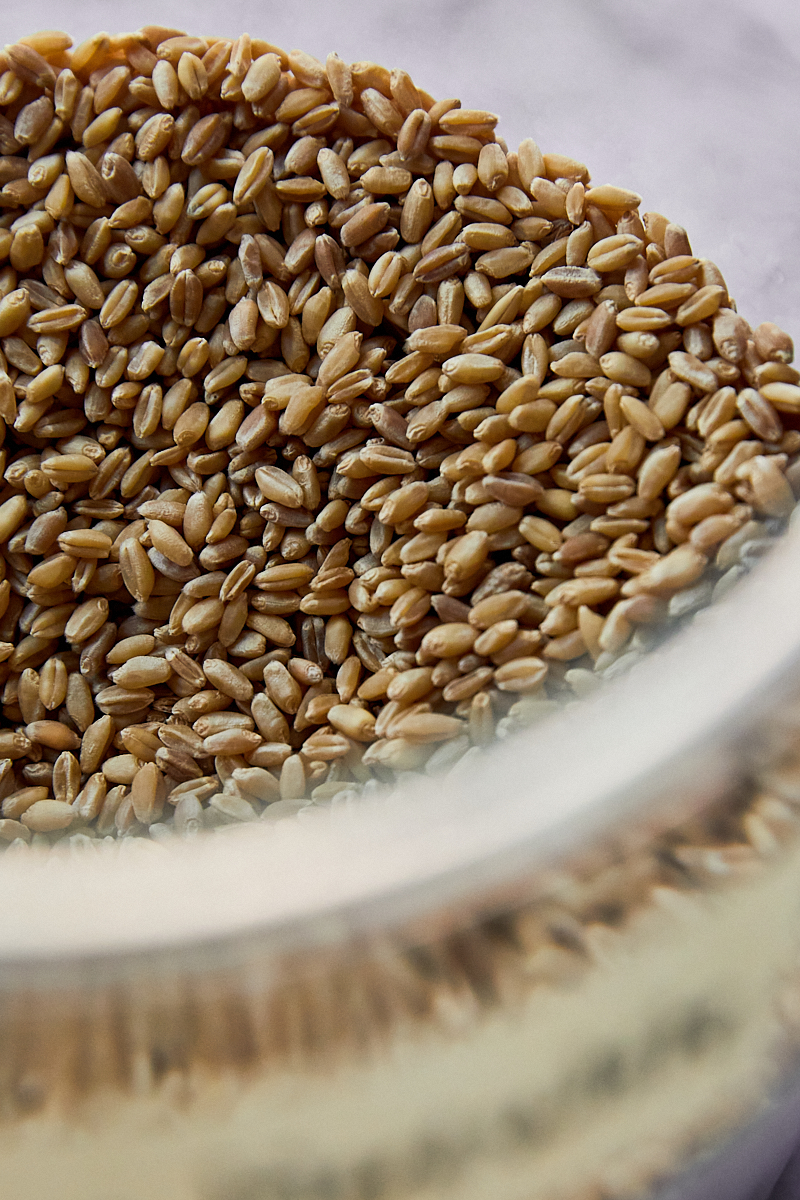
Finally, by milling flour at home, you can keep one ingredient on hand and have endless possibilities of use. I use wheat berries in their whole, cracked, flaked, and flour, which are nearly all processed using my grain mill.
Are you completely unsure about all of this but still want the benefits of freshly milled flour? You’re in luck—there are so many phenomenal farmers, mills, and retailers selling freshly milled flour. And best of all, you can use that flour in all of the same ways I use home-milled flour.
This is a phenomenal list segmented by region to help you find locally milled flour. I can attest that the California producers listed are fantastic, as I regularly buy Capay Mills, Grist + Toll, EarlyBird Farms, Full Belly Farm, and Kandarian. I’d also add that Farmer Mai Nguyen consistently produces excellent grain and offers a flour share for those in San Diego.
When asking this question, your first stop should be the user manual for your particular mill. Each company has different instructions, and it’s best to start there to avoid ruining the mill. My particular grain mill allows almost everything except oily seeds, such as flax.
However, I typically use grains and a handful of legumes. This helps ensure a smooth milling experience.
Beyond a dry grain mill, I also keep a wet, hand-crank mill for making masa from nixtamalized corn, a hand-crank oil mill for making oil from nuts and seeds, a spice grinder for spices, nuts, and seeds, and a separate spice grinder for grinding dried chiles into powder (because not everyone in my house is a fan of spice).
Is any of this a requirement? No. Working with raw ingredients is my hobby and what consumes me, so it’s up to you what you want to invest your time in. There are plenty of companies creating quality products in all of these categories.
Below is a list of the grains I keep on hand to mill. Each grain is in the process of being linked to a more in-depth page where you can find more information about each distinct flour and how I like to use each.
I also would like to mention chickpeas and lentils. I’ve pulled back over the years on milling legume flour at home, primarily because of the high lectin content in uncooked beans. Chickpeas and lentils are lower in lectin levels and mill quite well at home.
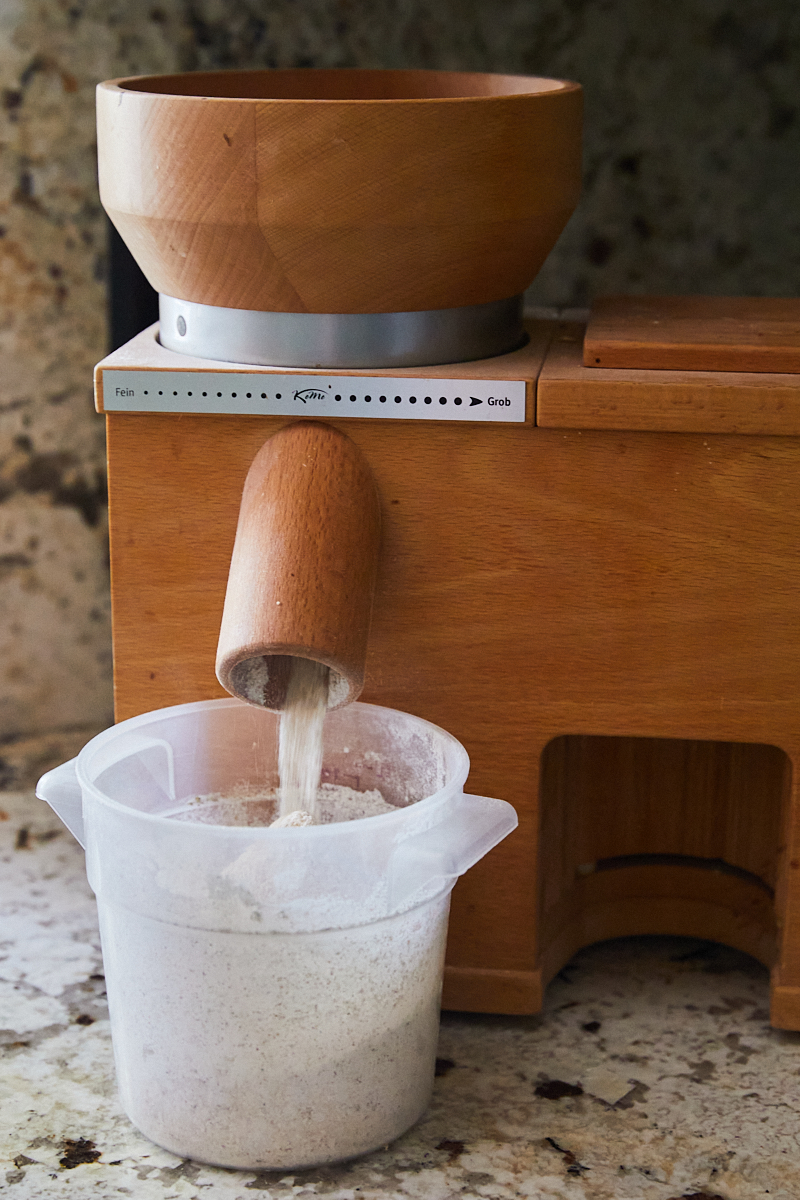
If milling at home is something you plan to work into your routine, it is worth it to invest in a countertop or electric grain mill. However, cost and space can both be an issue! Luckily, there are a few other options beyond the electric mill.
KoMo, Mock, NutriMill, and WonderMill are the most prominent companies in this space and are all fairly evenly priced. I landed with the KoMo mill after years of using a WonderMill because I wanted the ability to flake grains as well (think oatmeal for any grain). I recommend reading about each mill and considering your own needs. Occasionally, mills will be listed used for considerably cheaper in places like Facebook Marketplace.
Beyond an electric mill, there are hand-crank counter mills, as well as the option to use your high-speed blender, attachments for a KitchenAid mixer, or spice grinder for smaller portions. These options, such as the blender and spice grinder, are also great if you plan to mill items that might not work in a traditional mill, as discussed in the next section.
So, you have some grain, you know what you want to use it for, and now it’s time to mill.
While many mills are built to last a long time, it’s important to take care when milling. The mill should not run with an empty hopper except for a few seconds to clear any remaining flour. And watch out for smaller grains, such as amaranth. The smaller grains have more potential to clog the mill.

When using an electric mill, the temperature of the flour can be a potential concern. The friction created when the stones rub together creates heat. Plus, the harder the grain, the more work the machine has to do. All of this can mean an elevated temperature in your final flour.
To preserve nutrients and flavor, the flour should ideally stay below 135˚F. I’ve found that when milling at home on an as-needed basis, my flour never gets close to that temperature. However, if you’re planning to mill a large amount, monitor the temperature and batch mill, letting the mill cool in between batches.
Many articles reference a two-pass grind, starting with a coarser grind and running that back through the mill to achieve a finer end result. This is suggested for two reasons: a finer flour and a cooler temperature, given that the mill will not have to work as hard to find already cracked grains.
My particular mill instructs me not to do this, and as mentioned, as long as I’m running my grains in batches, I don’t have a temperature problem. I also find the flour coming out is plenty fine.
You have your flour; now it’s time to bake!
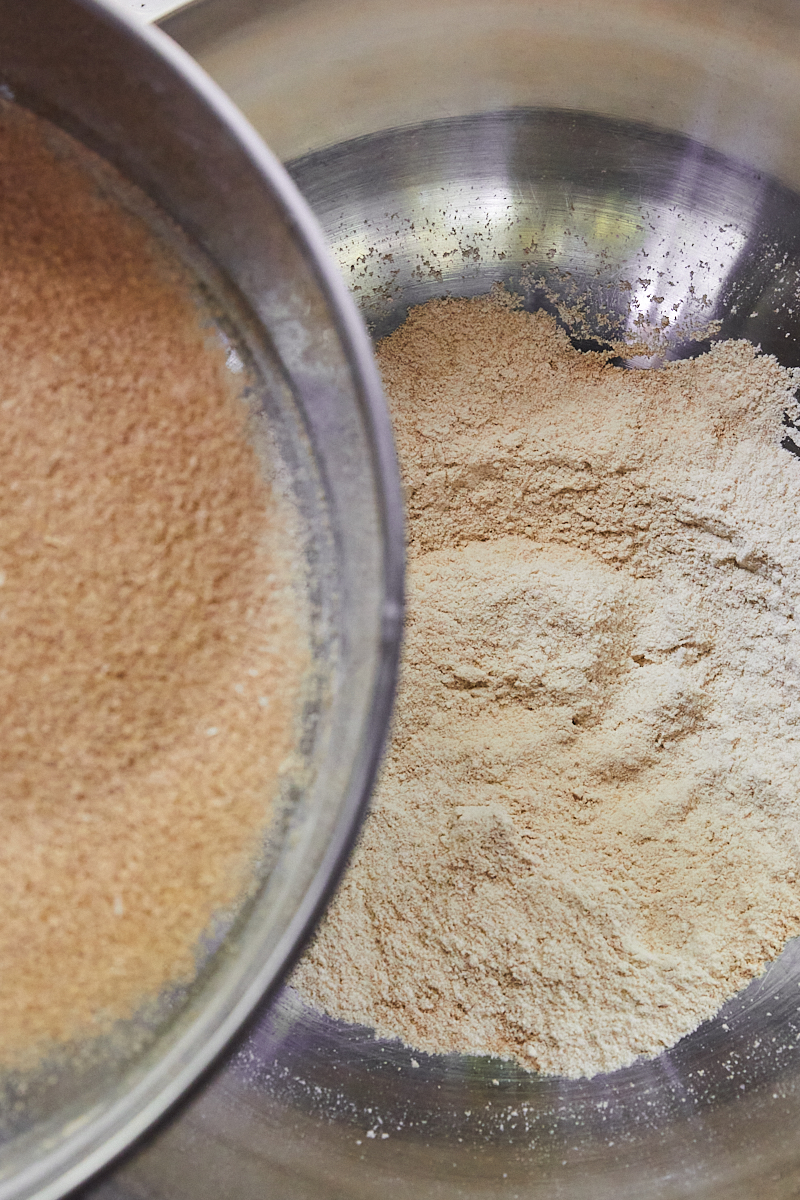
Well, almost. You can definitely use your 100% whole-grain flour, but in some cases, it’s helpful to go through one last process: sifting. Sifting flour at home is similar to that at commercial operations: you’re separating the bran flakes from the light endosperm. This is primarily concerning wheat, as I use most other grains at 100% extraction.
You may decide to sift for various reasons. The sharp bran can cut through gluten development, making pastries heavy and pasta a little more delicate. Extraction allows for an easier transition into using home-milled flour.
A couple of notes: you may think the whole reason to mill at home is to get all the nutrients left out from stores! I completely understand. However, I believe in a whole approach where I’m making some 100% whole grain items, some from extracted flour, and some using the bran I extracted. This way, I’m still getting 100% of those whole grains, just in various forms.
Also, sifting can become impractical in large quantities, but I’ve found it less burdensome when sifting for individual recipes.
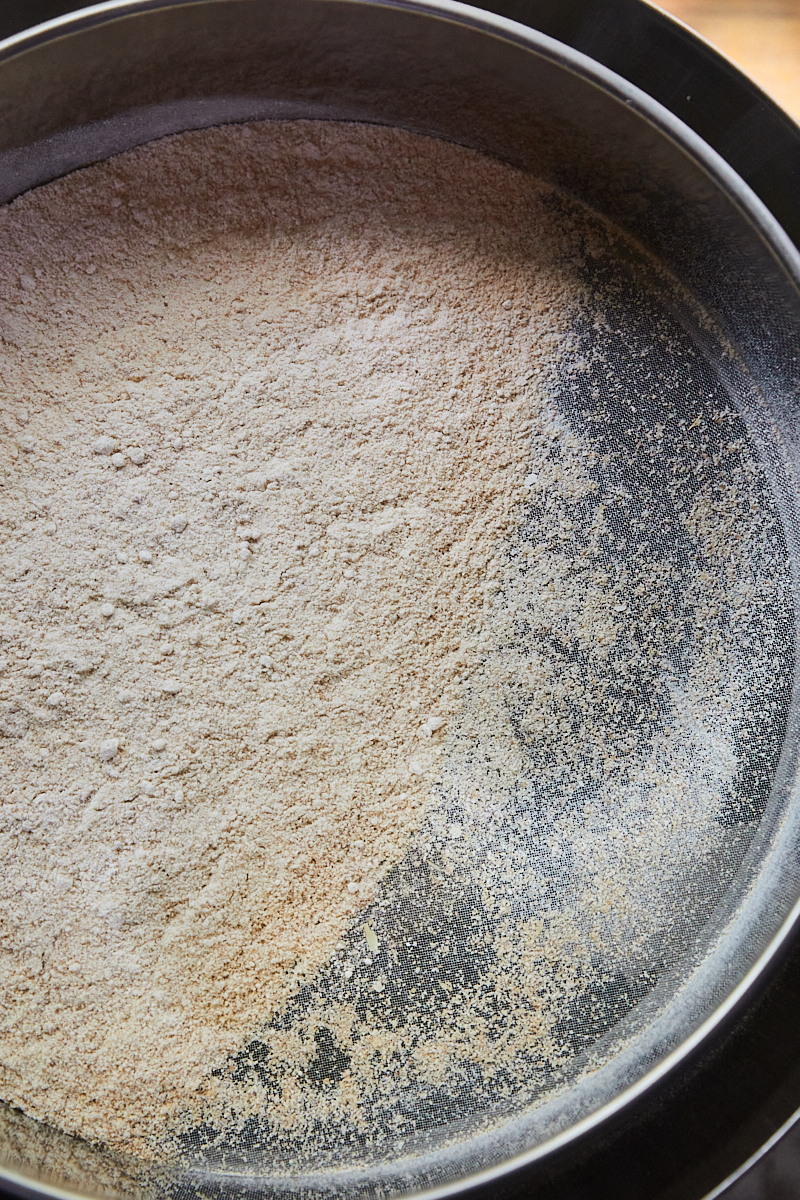
To sift flour, you will need a sieve that looks like a round cake pan but has mesh at the bottom. These come in various sizes, according to the squares per inch (this is specific to the United States and is different in the metric system).
Once you choose a sieve, find a bowl that the sieve can rest on top of or slightly nested in, add the flour, and shake the bowl back and forth. It takes some practice to know when the flour is fully sifted, so be prepared to do a bit of trial and error.
Sieves come in different sizes, and while it’s rough, these are the extraction rates I keep in mind when I’m using the various sizes:
This is the most open sieve I use for flour, correlating to 40 squares per inch. This sieve allows smaller bran material to pass through, resulting in roughly a 90% extraction rate. I like to use this for heartier breads.
A slightly tighter grid of squares than the #40, this sieve compares roughly to an 80% to 89% extraction. I like to use this extraction for bread items like buns, rolls, and naan.
The smallest square network I use for sifting is this 60 squares per inch sieve, which extracts roughly 70% to 80%. This sieve takes more time and patience but results in nice flour akin to all-purpose. I like this sieve when I’m working with delicate pastries, dumpling wrappers, or pasta.
Of course, nothing goes to waste! Leftover wheat bran can easily be added to items that don’t rely on the gluten network. This includes porridge, pancakes, waffles, and granola, or it can be mixed in with bread crumbs.
Wheat bran can also be used instead of rice bran for nukazuke (Japanese pickles made with fermented rice bran).
Once you have your flour, it’s time to get baking! To ensure success, I find knowing a few things about your newly milled flour helpful.
Freshly milled flour will have more air in the mix. If you measured 1 cup of freshly milled flour to 1 cup of store-bought flour, the two would be drastically different in weight. As such, only go by weight! Weighing your flour ensures the correct amount every time.
Even if you sift your flour, you’ll likely end up with bran in the flour mix. Bran is thirsty, so most recipes using freshly milled flour need a bit more liquid. I recommend starting with the amount called for in the recipe and adding as needed.
Finally, home-milled flour does have a disadvantage: it’s fresh! Store-bought flour is aged, which strengthens the flour’s ability to form the gluten network upon mixing. Fresh flour doesn’t have this. One way to work around this is extended mixing time.
Extending mixing can take me a few more minutes in the stand mixer, another set or two of folds and stretches, or more time during preshaping.
Extra mixing, however, only goes for bread! Don’t overmix your pastries!
Home-milled flour can stay at room temperature for a few days but should ideally be used within that time. This time range can change depending on the type of climate you live in, and humidity and heat will impact the flour.
For extended storage, flour should be sealed well in the freezer.
I hope that this is a starting point for your home-milling exploration. Location, temperature, humidity, type of grain being milled, water make-up, length of processing, and more can impact your final product.